
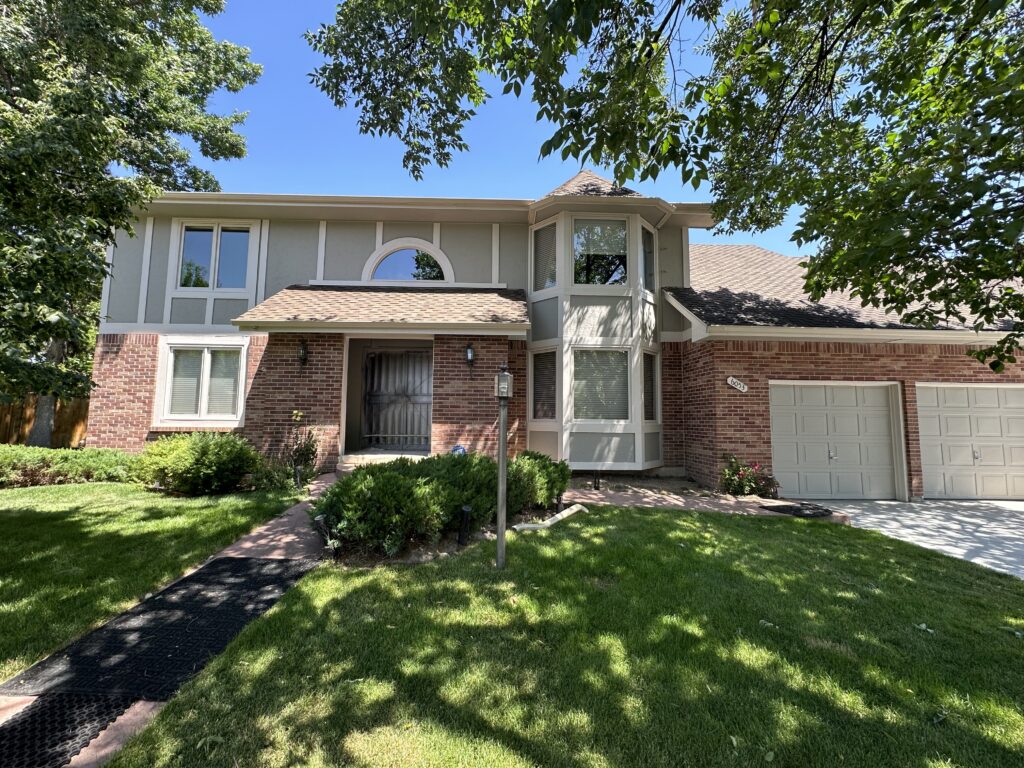

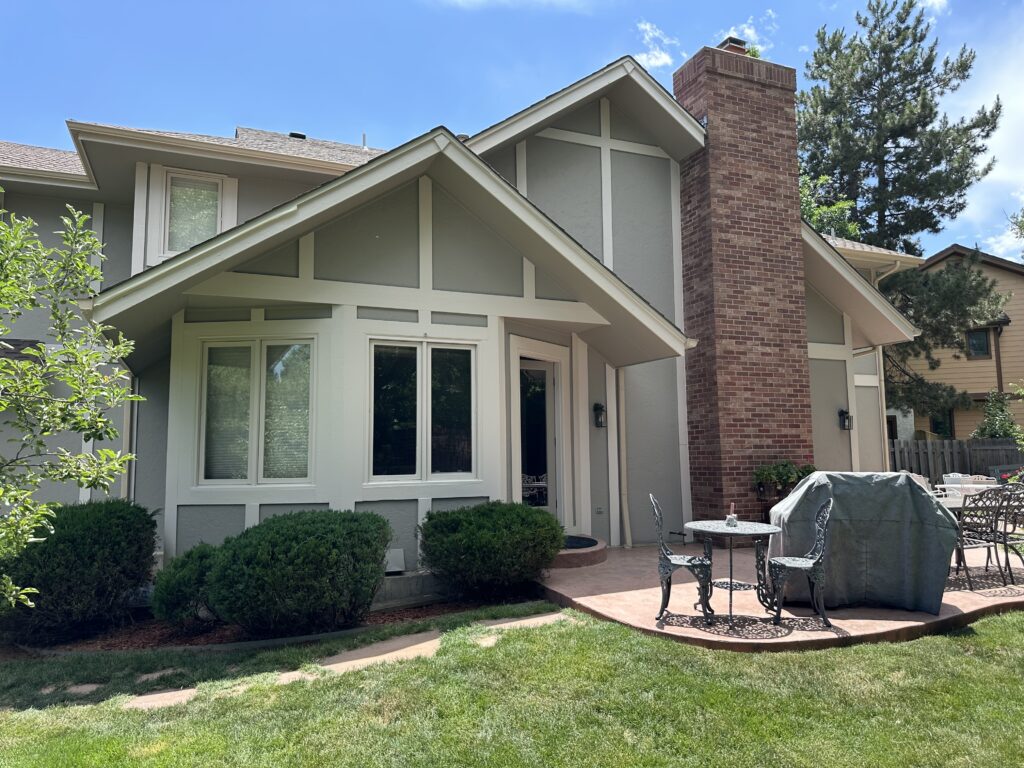

exterior painting in greenwood village, colorado. Steps to exterior painting sucess!
It had been ten years since this home was last painted and it was starting to show. At first glance the painting and condition of the house seemed fine. Once we began to look little closer we begin to see the paint and prep work was beginning to fail and needed some attention. There were 6 major steps we took to get this home back up to date and ready to take on another ten years. Once we helped the homeowners choose new colors we were ready to get started.
- First and very important step is to get the house or property pressure washed prior to painting. We want to give the wood and other surfaces plenty of time to dry before beginning work on them. Pressure washing will wash away any debris that can get in-between the surface being painted and the new paint. This gives better adhesion of the paint to the surface.
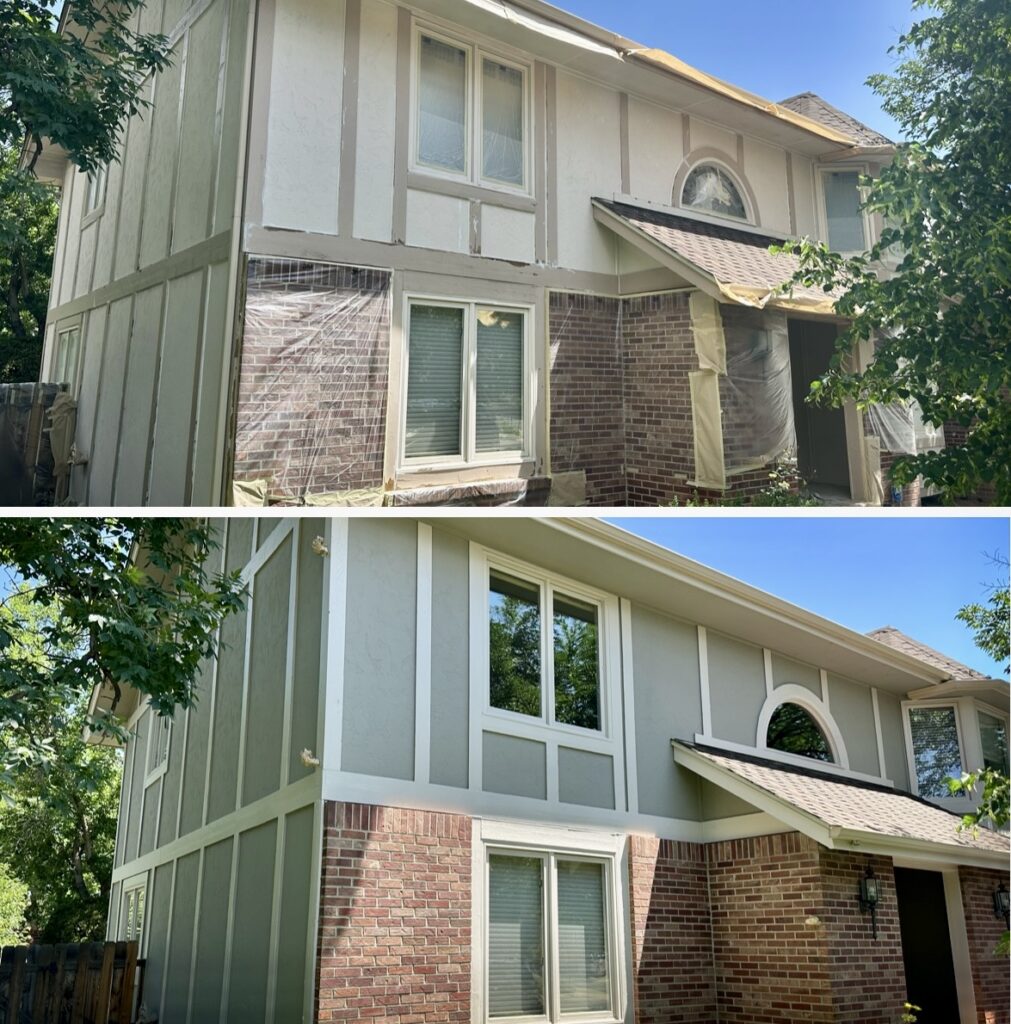
- Cover and protecting the home and surrounding areas. We want to ensure that your home or property is left in better condition then when we got there. In order to do this we must cover and protect anything that is not being painted. Sometimes this will include brick areas, windows, driveways, doors, gutters, patios, moving furniture or any necessary actions we have to take to ensure your things are protected.
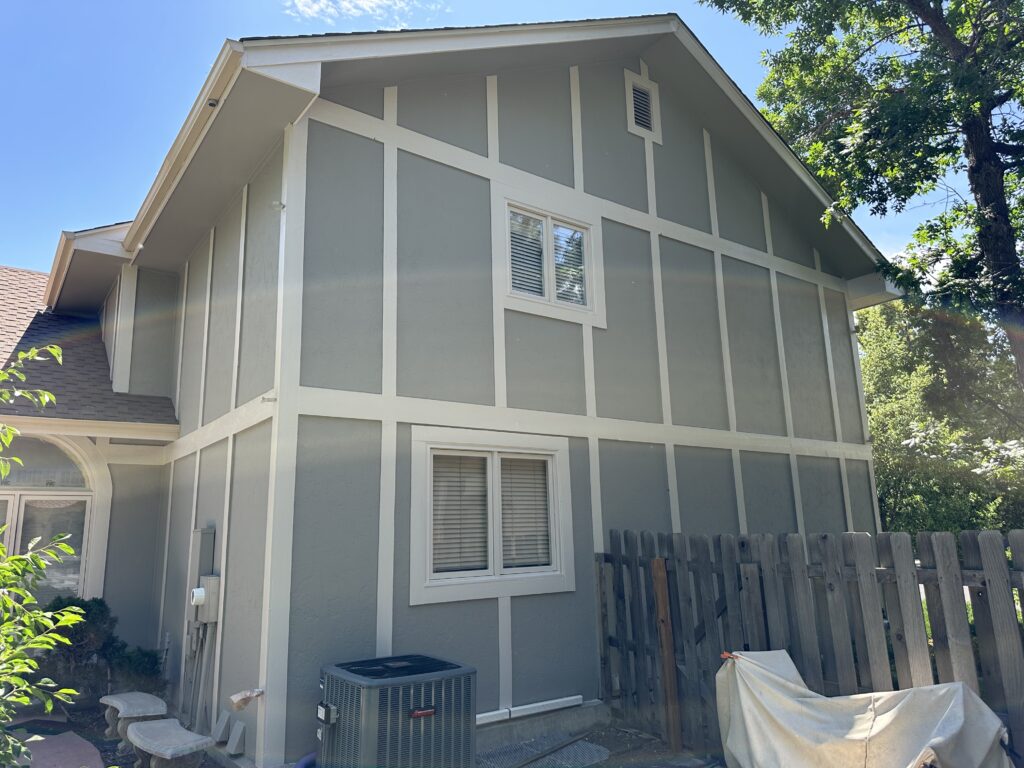
- Our team will then begin to scrap corners, flaking paint or any surface that is lacking integrity so that it can be addressed. We call this step scrapping and sanding. Scraping and sanding is important to address painted areas that may need extra attention in order to deliver a beautiful and quality finished exterior painting project.
- Following scraping and sanding we will begin to caulk or spackle areas and then primer them also. We call this step caulking and priming. Caulk is extremely important when painting a homes exterior. We always recommend caulking all joints. Which is where one piece of material connects with another. An example is where siding meets the trim. Another example is above window trim. The areas above trim are very important to caulk and paint properly due to water being able to collect on top of them. For this reason we recommend caulking the full exterior of a home when painting. We use primer over any natural wood that is showing and over and areas that had previously had paint flaking on them.
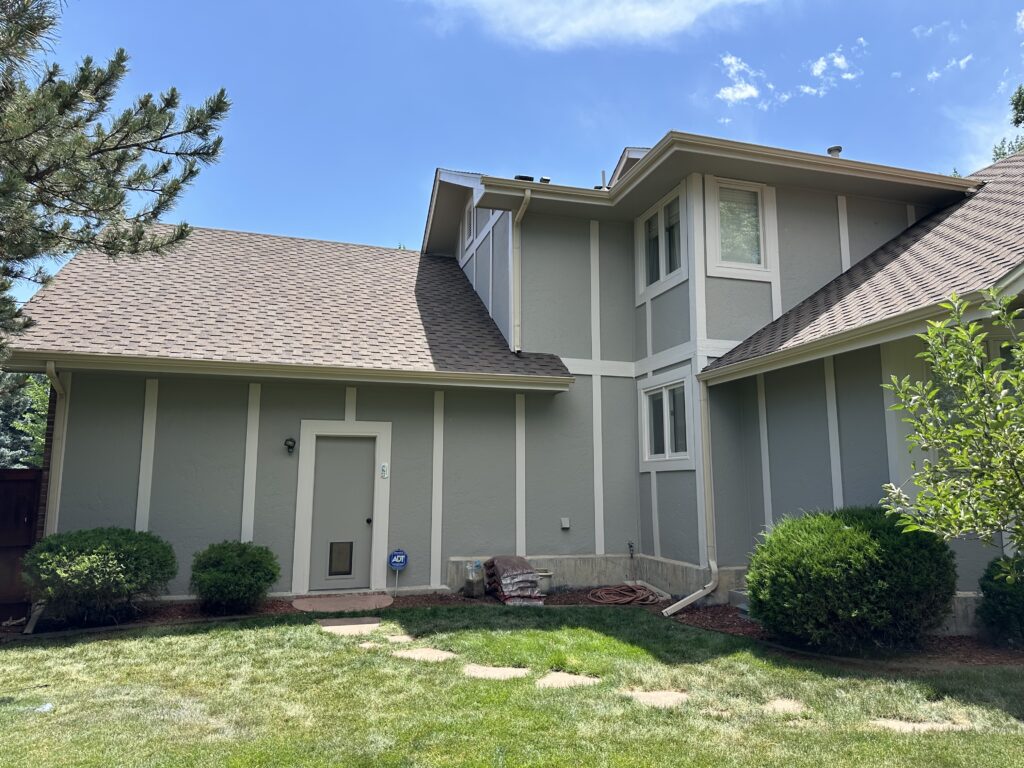
- Paint application is the fifth but not final step. There are many techniques we have to think about to set ourselves up for success while painting the exterior of a home. It would seem that we just go out and start painting but there are many thoughts and process we use to ensure proper application. One example of a process we use for exterior painting is painting in the shade. It doesn’t necessarily have to be in the shade but you want to put the paint on as quick as you can on one side to ensure that paint doesn’t dry at separate times causing a visual change in the finish. The hotter it is outside or dryer it is. The more you need to be aware of this happening.
- Once completely done with the exterior painting. We will then clean up and pick up as much debris as possible. We sweep or blow off the roof if our team had been working on the roof. We pick up old paint that had been scrapped off. We also dispose of all paint cans and trash that was used to complete the exterior painting project!
Though it appears sometimes that a painting crew just shows up and paints. There is far more to it than that. It takes proper planning, preparation and application of paint to be able to do a professional painting job. Especially when using ladders and other tools that most people don’t use often. Thanks for reading and let us know how we can help!